From the “Quarantined Emails” page, admins and reviewers can review and take various actions on quarantined emails. To see instructions on how to add and manage reviewers, see our guide on the subject.
To perform actions on a quarantined email, simply click on the “Actions” menu on the right side of the screen for the email.

This menu will show the actions which are available for the quarantined email:
Show Threats and actions:
This will open a new window with additional information about the quarantined email, as well as more actions that can be taken on the email and/or the sender. For more details, view our guide on this subject.
Set Category:
This will allow the admin or reviewer to change the email’s category to one of the following: Malicious, Suspicious, Spam, Graymail, External, or Safe.
This action is mostly to be used if you believe the email was incorrectly diagnosed and would like the record to reflect that.
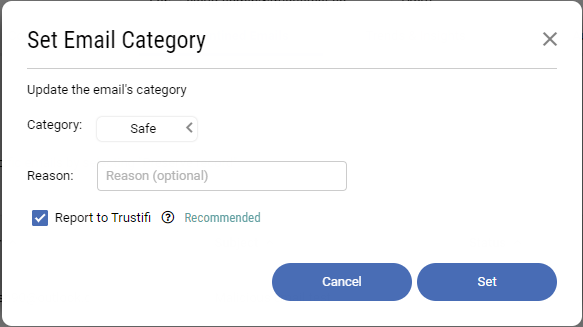
A pop-up window will open to provide the admin with the following configuration options:
-
- Category – to configure which category the email should be listed under
- Reason (optional) – if the admin/reviewer wants to specify why the category was changed
- Report to Trustifi (recommended) – selecting this will send Trustifi’s security review team a notification that an email was misdiagnosed. These reports help us improve the accuracy of the system.
Release to Mailbox:
This option is available only for emails that are currently in the “Quarantined” status and will release the email back to the recipient’s mailbox. It is recommended to perform this action only if you know the email is safe.
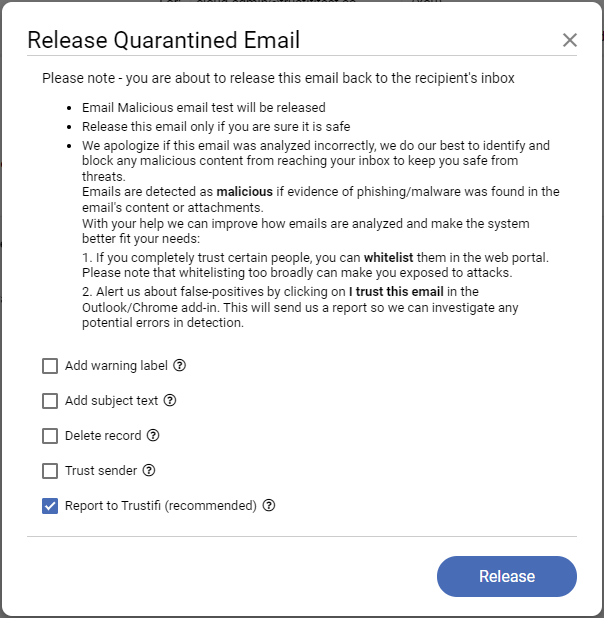
When this option is clicked, a pop-up window will appear with some general information, as well as more options.
-
- Add warning label – this will add a warning label to the released email according to the corresponding threat prevention rule
- Add subject text – this will add text to the subject of the released email according to the corresponding threat prevention rule
- Delete record – the quarantined email’s record will be deleted immediately after being released
- Trust sender – this will globally set the sender as “trusted”, which means emails from this sender will be far less likely to be flagged as spam or graymail. Note: this will not whitelist the sender, and malicious content from this sender will still be blocked.
- Report to Trustifi (recommended) – selecting this will send Trustifi’s security review team a notification that an email was misdiagnosed. These reports help us improve the accuracy of the system.
After confirming the “Release” action, the email status will temporarily change to “Pending release” while the email is being sent back to the recipient’s mailbox. Once the release process is finished, the status will change to “Released“.
Remove from mailbox:
This action is only available for emails that are currently under the “Released” status and only if your Trustifi plan is integrated with the Microsoft API. To view instructions on connecting to the Microsoft API, please view our guide on the subject.
When this action is performed, the Microsoft API will fetch the email from the recipient’s mailbox and will remove it.
Delete record:
This will delete the record of the quarantined email.
Note: once a quarantined email record has been deleted, it cannot be recovered.
Download as EML:
Clicking on this action will download the quarantined email as an EML file to your computer.
Preserve record:
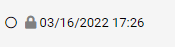
When this action is performed, the email will not be deleted after the predetermined retention period has passed. An email that was selected to be preserved will show a small padlock icon next to the record creation date:
Do not preserve record:
This action can only be performed on email that have previously been selected to be preserved. Once the actions is applied to an email, it will be deleted after the predetermined retention period has passed.
Performing actions on multiple emails
To perform actions on multiple emails, select the emails by clicking anywhere in the email row in the table and you will see that a new menu will appear on the right “Actions for X items” (the X being the number of emails you’ve selected).
Click on this menu to see the actions you can perform on all of the selected emails.

Note: some actions (like releasing emails) can take some time to finish, keep this in mind when performing actions on many emails at once.