Step 1:
Log in to the Trustifi web app using your admin credentials. From there, Click on the “Outbound Management” section and open the “Plan Settings” page. Then, click on the “Domains” tab at the top.
Click on the “Add domain” button to add a new domain.
Step 2:
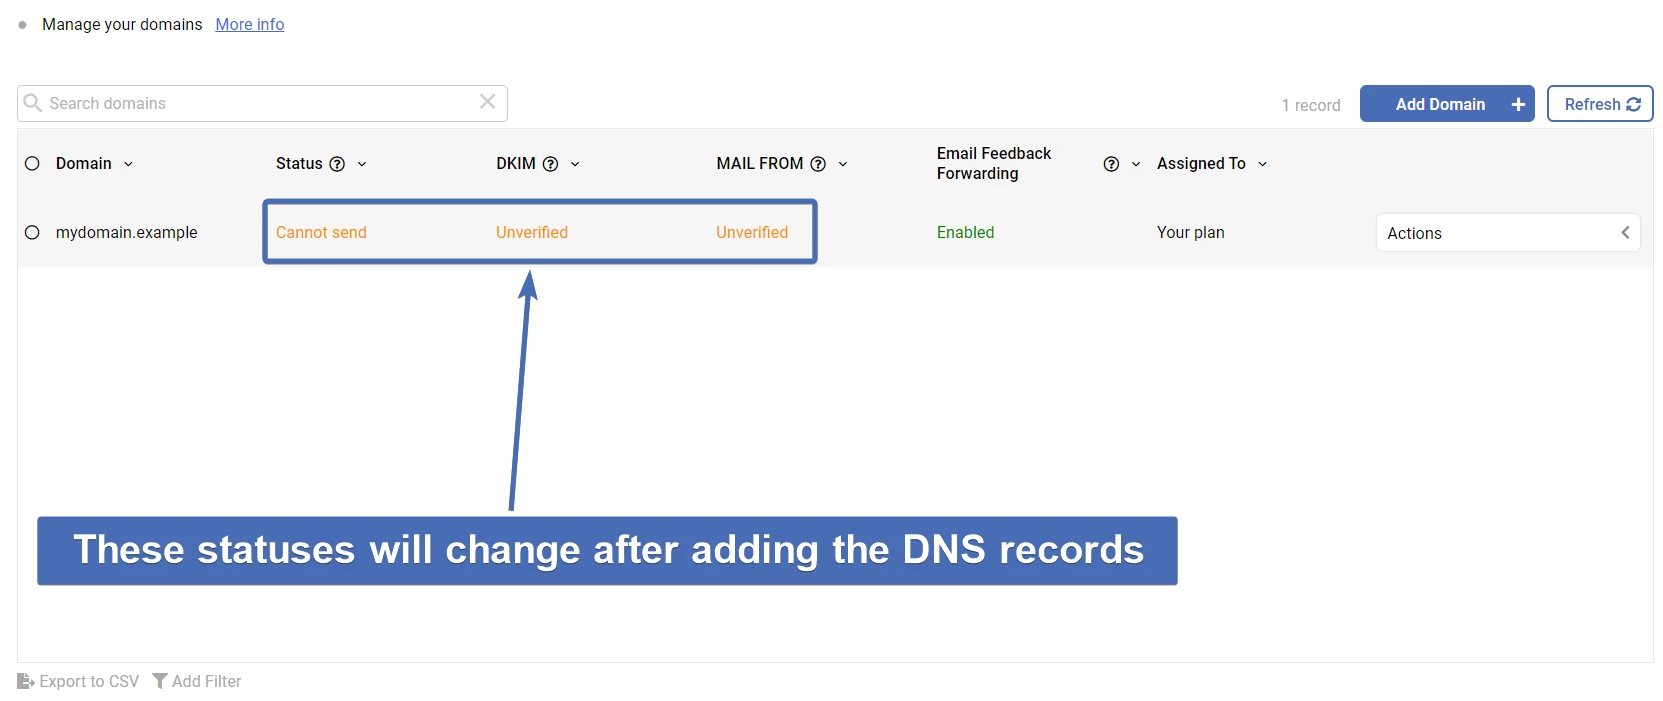
In the pop-up window, enter the domain you would like to verify (e.g. – mydomain.example) and click on the “Add domain” button to confirm. The domain will now appear in the domains list. Initially the “Status” column will display “Cannot send” and the “DKIM” and “MAIL FROM” columns will appear as “Unverified” – this means the domain is not yet ready to be used for sending emails with Trustifi. After the relevant DNS records have been added, these statuses will update. The steps below will describe how to find and add these DNS records. Step 3:
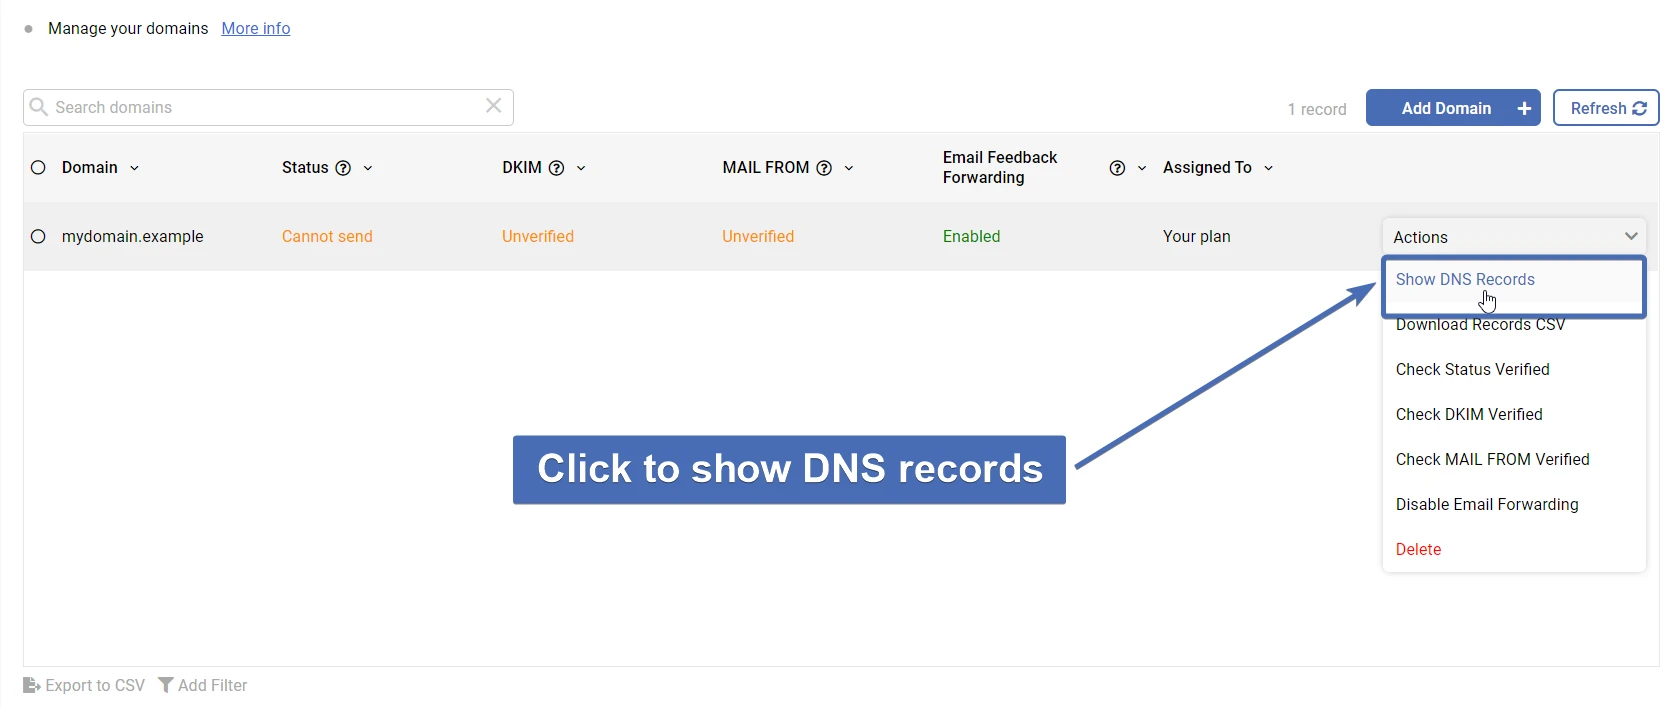
Click on the “Actions” button for your newly added domain and click on “Show DNS records” in the menu this will open a new window with the DNS records that need to be added to your DNS environment.

In the pop-up window, the required DNS records will be arranged by “Identity” (TXT record), “DKIM” (CNAME records) and “MAIL FROM” (TXT and MX records).
Pro-tip: You can click on each of the records (name and value) to easily copy them to your clipboard. If you want to save these records or send them to someone else, you can click on “Download Records CSV” from the “Actions” menu to save the DNS records as a Comma-Separated Value (CSV) file.
Step 4:
At this point you will need to log into your domain host environment and add the required DNS records. This process varies slightly depending on which host you are using, but the basic steps are the same:- Log in to the domain host environment with the correct credentials
- Choose the relevant domain from the dashboard (your may have more than one)
- Click on the “DNS” section/page. You will see all the existing DNS records there.
- Click “Add record”
- Select the correct type of records to add (TXT, CNAME, MX)
- Add the relevant input under “Host”/”Value”/”Pointer”
- Add the record
Step 5:
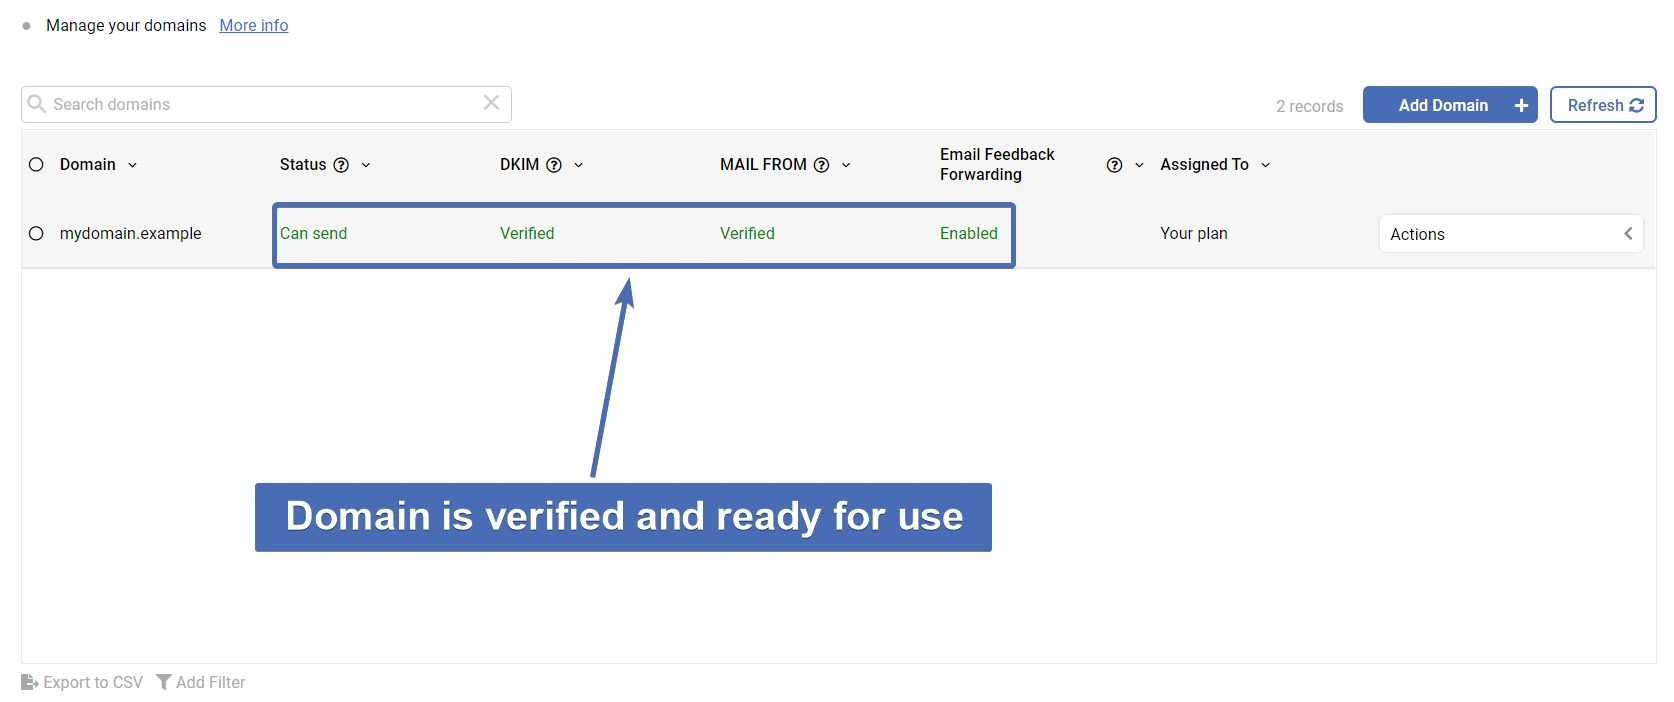
Make sure all the required records have been added correctly. Typically, DNS records take only a couple of minutes to propagate and finish updating, however in some cases this process can take up to 24 hours.Once the DNS records have been added and updated, refresh to the Trustifi web portal and check the “Domains” tab again. If all records have been added correctly, the “Status” column should now show as “Can send” and the “DKIM” and “MAIL FROM” columns should now say “Verified“.

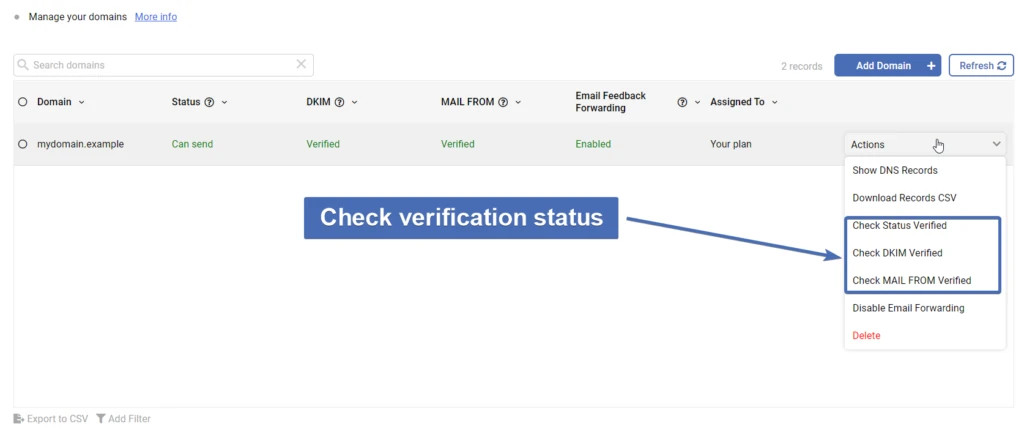
If the domain status has not yet been updated, you can click on the “Actions” menu and check the verification status for “Status“/”DKIM“/”MAIL FROM” individually.

If one or more still shows up as unverified/”Cannot send”, then you should check the relevant DNS records to see if they’ve been updated correctly. If the problem persists, please contact us at support@trustificorp.com

